The kitchen hood is an essential appliance for ensuring a clean and healthy environment, which is why its maintenance is so important. Keeping your hood in good condition extends its lifespan and ensures effective suction of smoke and odors. Additionally, it guarantees a healthy and safe kitchen and home for its inhabitants.

How can you maintain your hood in the best possible way? By avoiding the 8 most common mistakes many people make.

To avoid compromising the appliance and the risks that may arise, follow my step-by-step advice to ask the right questions and prevent behaviors that could damage your hood in the long run.

Mistake 1: Failing to Clean or Replace Hood Filters Regularly

The filters in your hood, whether grease filters or activated carbon filters, are critical for its proper functioning. Neglecting their regular cleaning or replacement is a common mistake.

  • Metal grease filters should be washed every two months, especially if you cook frequently.
  • Activated carbon filters (if present) should be replaced approximately every six months unless they are long-life filters, which can be regenerated.

But what are the consequences of not cleaning or replacing the filters?

  1. Increased fire risk: Accumulated grease in metal filters can become highly flammable, raising the risk of accidents.
  2. Persistent bad odors: Dirty filters can no longer trap smoke and grease effectively, eventually releasing unpleasant smells into your home.
  3. Damage to the hood: A clogged filter forces the hood to work harder, reducing its lifespan and potentially causing malfunctions.
  4. Higher energy consumption: A hood with dirty filters requires more energy to function correctly, increasing energy costs.
  5. Respiratory issues: Without clean filters, grease and smoke particles remain in the air, potentially irritating the respiratory system.

→ These are the reasons why you should always schedule regular cleaning and replacement of the filters.

Mistake 2: Washing Disposable Activated Carbon Filters

Attempting to wash disposable activated carbon filters is a mistake. Unlike metal filters, activated carbon filters should NEVER be washed unless they are "long-life" models. Activated carbon is designed to absorb grease and odors, but contact with water irreparably compromises its filtering properties. Here’s what could happen if you wash disposable activated carbon filters:

  • The filter loses its absorption capacity, reducing the hood's efficiency.
  • Your kitchen will remain filled with smoke and unpleasant odors, worsening air quality.
  • You’ll need to replace the damaged filter sooner than expected, incurring additional costs.

So, how should the two types of filters be handled?

  • Standard activated carbon filters: Do not attempt to wash them; replace them regularly.
  • Long-life activated carbon filters: Follow the manufacturer’s instructions for washing and regenerating. Typically, they can be washed in the dishwasher at about 70°C without detergents and regenerated by drying them in the oven at 100°C for about 10 minutes.

→ Properly caring for your hood filters is the key to breathing clean air free from grease, odors, and smoke.

A Series of Long-Life Filters for Kitchen Range Hoods

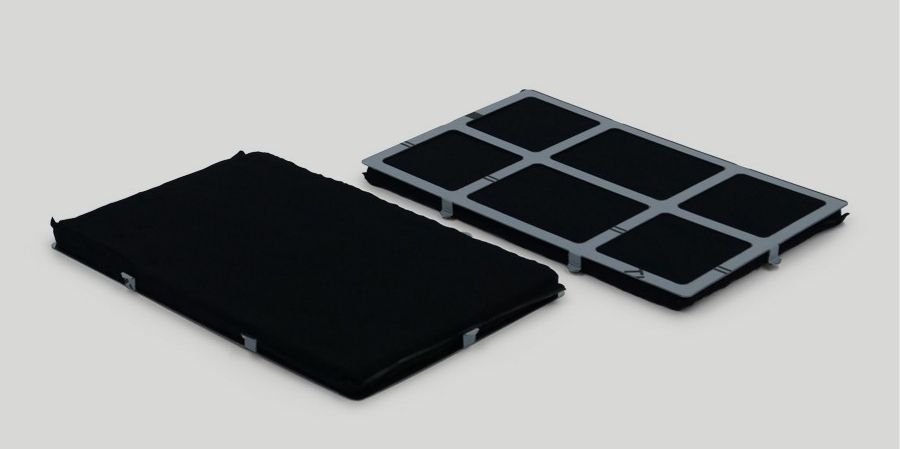
Example of an Elica Long Life Filter. Source: Elica

Mistake 3: Spraying Degreasing Products Directly on the Filters

It’s common to spray degreasing products directly onto metal filters when cleaning the hood. It may seem like a good idea, but those powerful detergents, often containing caustic soda or solvents, can damage aluminum filters. While they are effective against grease, they are too aggressive for delicate surfaces like these. What happens when you spray these substances directly on the filters?

  • The filters can develop dull stains or permanent marks due to the chemical reaction between the detergent and the metal.
  • The filter loses its original shine, leaving the surface visibly corroded.

Aluminum doesn’t tolerate harsh chemicals. The best solution is to remove the filters and wash them in the dishwasher, preferably in the upper rack with an intensive cycle. Although the stains may not disappear completely, the intensive wash will help even out the surface, making imperfections less noticeable. If you’re not satisfied with the result, the only option is to replace the filter.

Another way to clean them is by soaking them in hot water with a degreasing detergent or dish soap for about an hour, then scrubbing them with a brush. This way, the detergent won’t be as aggressive as when sprayed directly onto the filters.

Mistake 4: Failing to Properly Clean the Surface of the Hood

The kitchen hood doesn’t only get dirty inside; grease and grime also tend to accumulate on its exterior surface. If left unchecked, they can harden, making cleaning much more difficult.

Using overly aggressive detergents or abrasive sponges on materials like stainless steel, glass, or wood can irreparably damage the finishes, scratching or dulling the surface. Additionally, grease can seep between buttons, especially on hoods with electronic controls, compromising the functionality of the control board or damaging the buttons themselves. What are the consequences?

  1. Visible grease buildup and unpleasant odors.
  2. Risk of food contamination from bacteria that thrive in grease.
  3. Damaged, dull, or scratched surfaces that degrade the kitchen’s appearance.
  4. Malfunctions or failures in electronic controls due to grease infiltration.

→ To avoid these issues, it’s important to clean the hood regularly using a soft cloth or a small sponge soaked in vinegar or a solution of warm water and Marseille soap, or mild detergents specifically designed for the type of surface.

Mistake 5: Not Checking the Suction System’s Functionality

Do you regularly check if your hood is suctioning properly? If not, you should start, as the suction system can become less effective over time. Regularly verifying that the suction is adequate is crucial for maintaining the hood's proper functioning. Otherwise, you risk encountering the following problems:

  1. The hood fails to eliminate odors and smoke, worsening air quality.
  2. The hood motor may start dripping grease due to buildup.
  3. The motor has to work harder to suction properly, increasing energy consumption.

→ If the hood isn’t suctioning, there could be several causes. You can test its effectiveness using the “paper sheet method.” Simply place a sheet of paper under the hood at maximum power: if it’s held up by the suction, the system is working properly. If the paper falls, it’s a sign that the hood isn’t suctioning but is blowing instead. It might be time to call a technician for a thorough maintenance check or, more simply, replace the filters.

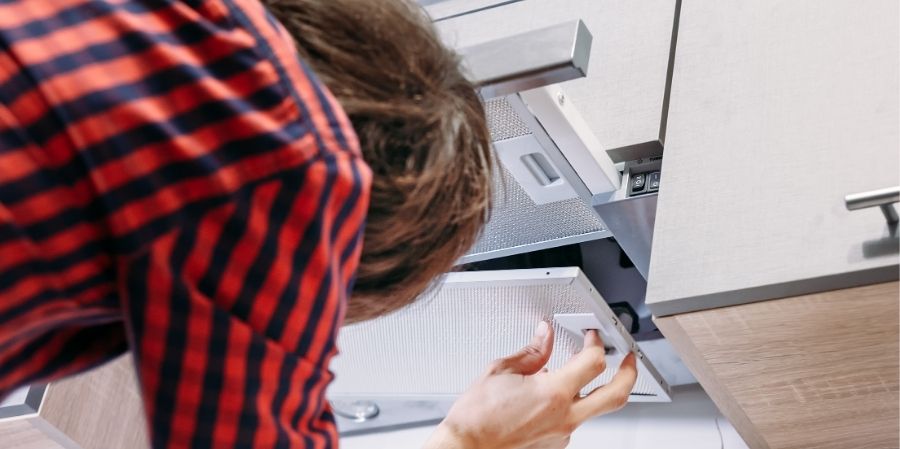
Man Inspecting the Interior of a Kitchen Range Hood

Mistake 6: Overcleaning the Hood to the Point of Erasing Internal Labels

Another mistake is overcleaning the interior surfaces of the hood, which can lead to erasing or fading the identifying labels on its components. These labels contain essential information such as the hood’s model, serial number, and technical specifications required to find the correct replacement parts. The difficulties that arise are quite clear:

  1. Inability to find replacement parts: Without the label, it becomes extremely challenging to accurately identify the components that need replacing. Many parts, such as motors, filters, or electronic boards, vary from model to model, and this information is necessary to order the correct pieces.
  2. Difficulty for technicians: Even a specialized technician may struggle to diagnose or repair the hood without the model and serial number data.

→ To avoid this, take care not to spray cleaning products directly on areas where the labels are located. Instead, clean around the labels using a damp cloth or sponge. If the label is already slightly damaged, take a photo of it to keep for reference. If it’s illegible, refer to the hood’s user manual, which often includes the model information you’ll need.

Mistake 7: Replacing Light Bulbs with Overly Powerful Models

It’s not an uncommon mistake: many people replace a burnt-out bulb with a much more powerful one, either in a rush to restore the light or in an attempt to achieve greater brightness.

However, this choice can lead to overheating. A bulb that’s too powerful can cause the fixture to overheat, potentially melting the plastic or other materials it’s made from.

Always check the maximum recommended wattage for the bulbs, which is often printed on the fixture itself, mentioned in the hood’s manual, or written on the label. Before replacing a bulb, also ensure that it’s compatible with the type of socket (e.g., E14).

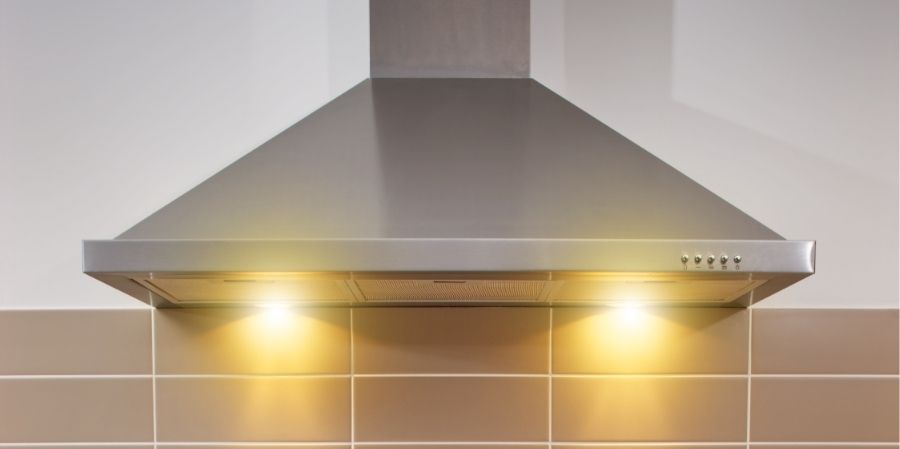
Bright Lights on a Kitchen Hood

Mistake 8: Replacing Halogen Bulbs with LED Bulbs Without Checking Compatibility

Replacing halogen bulbs with LED bulbs without considering the hood’s compatibility is a significant oversight. While LEDs are more efficient and have a longer lifespan, not all kitchen hoods are designed to work properly with this type of bulb. For instance, older hoods may not support LED technology, leading to various technical issues, such as:

  1. Non-functional lights: A hood not designed for LEDs may fail to power the bulb. This could be due to differences in voltage requirements or the type of transformer used.
  2. Short circuits: LED bulbs operate differently from halogen bulbs in terms of energy consumption and heat generation. Using an LED bulb in an incompatible system could result in a short circuit.
  3. Interference with electronic or capacitive controls: Modern hoods often feature electronic keypads or capacitive controls. Using incompatible bulbs may cause electromagnetic interference, leading to control malfunctions.

→ If you cannot find specific information confirming your hood’s compatibility with LED bulbs, it’s safer to stick with the original halogen bulbs to avoid potential damage. If in doubt, you can also contact technical support.

Do You Need Help with Your Kitchen Hood?

In this article, we’ve reviewed the most common mistakes to avoid when maintaining your kitchen hood and shared tips on proper cleaning to keep it efficient over time. We’ve also discussed the best ways to clean the filters and when their replacement is necessary to ensure optimal performance.

Replacing worn components is essential for preserving your hood’s performance. Filtro Cappa offers a wide range of quality filters and replacement parts to meet every need, even for older and discontinued hoods. You can find all available products in our e-commerce store.

If you have any questions or need specialized remote assistance, don’t hesitate to reach out. You can easily contact us via WhatsApp or email.